

Miro is a virtual board that allows you to work individually or in a team.
After registering for the free version, each user has three free whiteboards and a very large number of interesting and well-designed templates (Image 1), as well as tutorials.
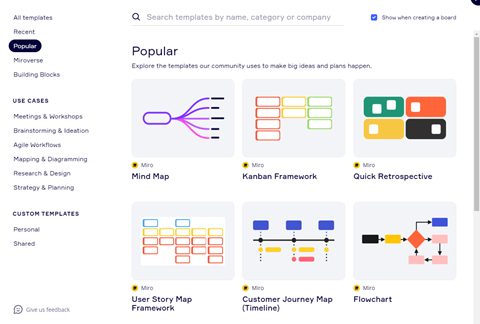
Image 1. A few of the many templates available when creating a whiteboard in Miro.
Each of the boards outside the work area has five windows (Image 2).
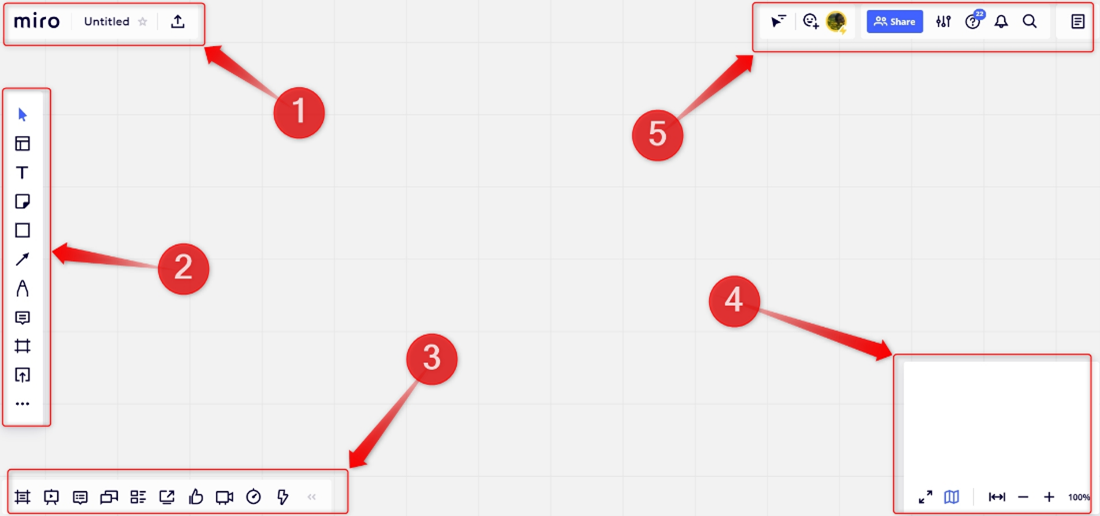
Image 2. The five main areas in a new Miro board
Working areas in Miro
1. Board menu
The first of these, marked with the number 1 in Image 2 is located in the upper left-hand corner of the board (Image 3) - it is the menu of a given board. There are three buttons there.

Image 3. Menu of a given board.
The first button takes the user back to the list of boards, while the second to the board information window, where you can, for instance, change the board name (Image 4).
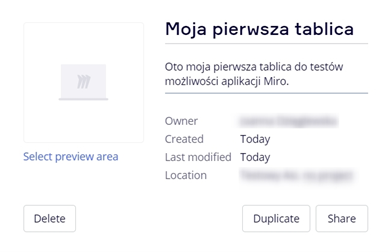
Image 4. The first area, information about the board.
The third button allows you to export the board (Image 5) to different formats.
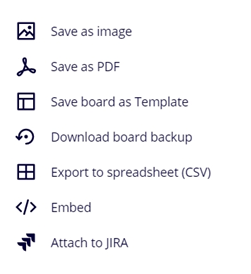
Image 5. The first area - export.
2. Object menu
The second area is the object menu. This is the main menu used when working in Miro. It gives you access to all the tools needed to create different types of objects on the board and to the templates.

Image 6. The object menu
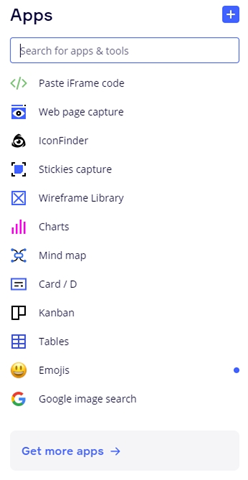
Image 7. Screenshot from the Miro app with a search engine window and various functionalities.
3. Collaboration toolbar
The third area is the collaboration toolbar. It is a collection of buttons, commands related to collaborating on a board with others. Here we have, among other things, the possibility to insert comments, chat, make presentations or modify frames.

Image 8. Collaboration toolbar.
4. Zoom window
The fourth area is hidden in the bottom right corner. It includes a collection of intuitive buttons for zooming in and out of a particular whiteboard.
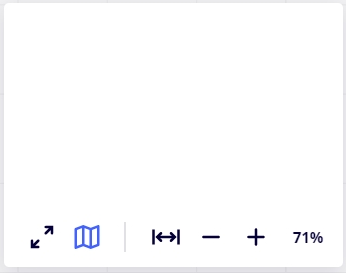
Image 9. Zoom window.
5. Settings menu
The last area is the settings menu, located in the top right corner of the whiteboard.
It consists of three main areas (Image 10).

Image 10. Settings menu.
The first of these consists of three buttons. The first button from this area of the menu gives you the ability to hide or show the cursors of other users using the whiteboard.
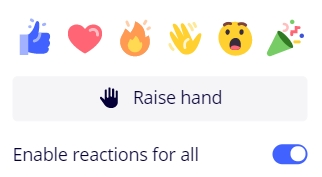
Image 11. Reactions of fellow whiteboard users.
The second button (from the first area of the Settings menu) allows you to express emotions in the form of emoticons, and the third button, among other things, to move the cursors of the other users to the presenter.
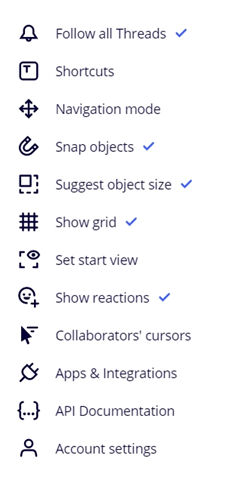
Image 12. Whiteboard settings.
The second area in Image 10 (Settings menu) is the settings associated with the board. There are functions here for, for instance, sharing the whiteboard with the other users, editing whiteboard settings (Image 12) and an extensive guide to Miro functions (Image 13).

Image 13. Miro guide.
The final third area of the Settings menu allows the user to add notes to a given whiteboard.
Working in Miro
Working in this programme is very simple and intuitive. There is the option of using ready-made templates or creating one’s own structures and layouts.
To do this, use the Objects menu (Image 6). To select a ready-made template, which you will then modify according to your own requirements, select the icon shown in Image 14.
 The templates button takes you to the extensive template library, where you can choose from over 150 templates and adapt them to your own needs, which speeds up your work considerably.
  The text button allows you to enter and edit text anywhere on the board.
 Post-It Note. This tool allows the user to add sticky notes anywhere on the whiteboard, which can be edited by adding text or tags to them.
  Shape is a tool that allows the user to create a variety of shapes, including circles, rectangles, squares, also those with rounded corners, arrows, stubs and so on. This tool is helpful for creating diagrams and flowcharts, among other things.
 Arrow/Line is a tool for creating lines. It allows you to connect objects on the board. In this way, you can create several types of lines (continuous, dashed/dotted) with different thicknesses and different endings.
 Crayon allows you to draw lines of any length, thickness and colour anywhere on the whiteboard.
 Frames is a tool that allows the user to group content and organise the areas covered by the presentation.
  Adding files – thank to this tool, you can add files to the whiteboard. These can be such files as pdf, images or MS Office files.
Depending on the size of your monitor, some of the functions mentioned above are hidden under the three dots. If the window is large enough, you will find applications that can be pinned to the whiteboard under the three dots.
Below are some ready-made templates using the aforementioned functions.
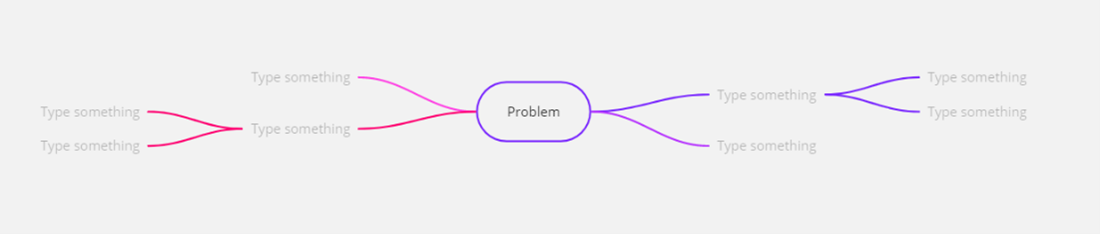
Image 14. Mind map template.
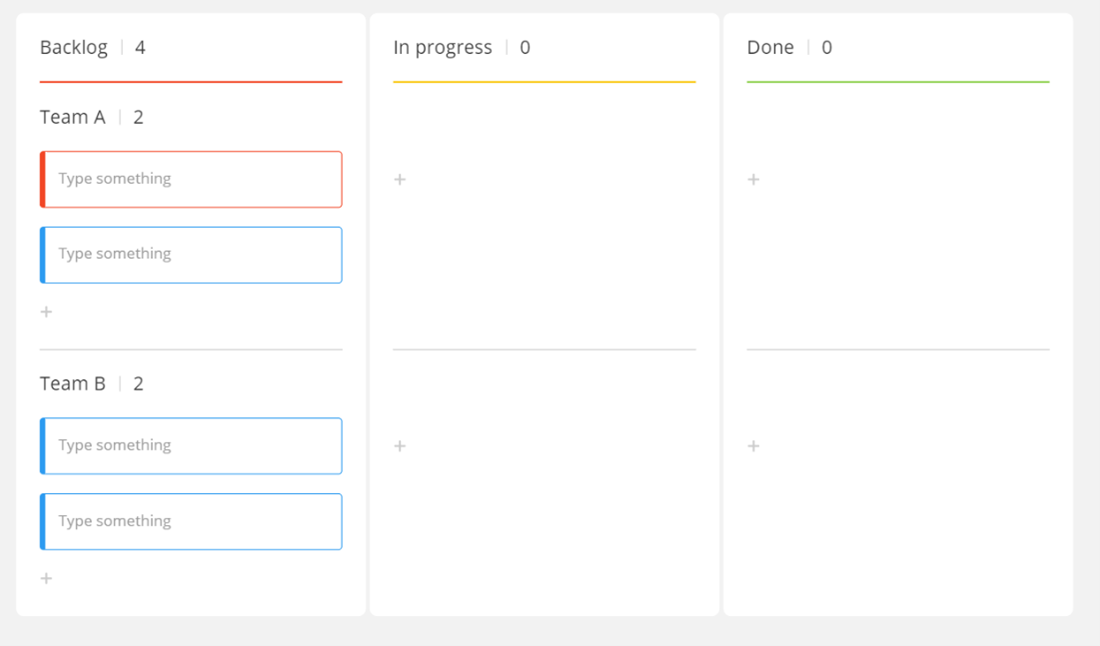
Image 15. Kanban
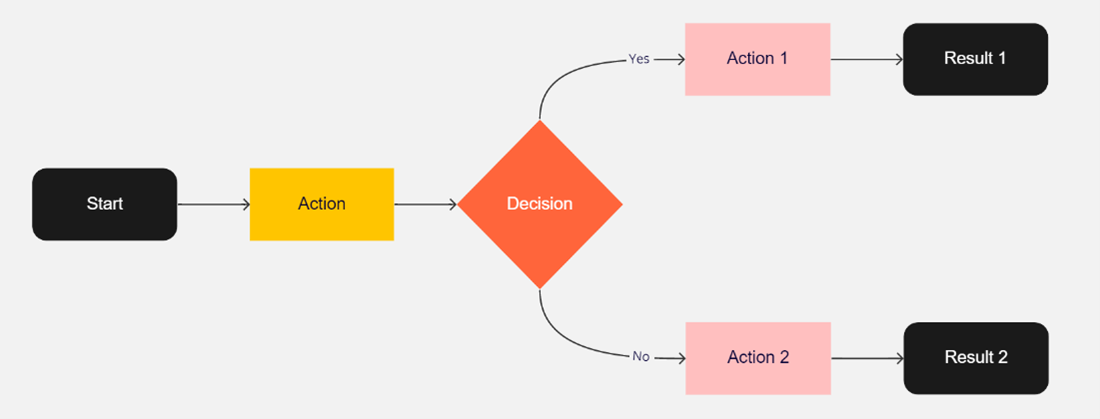
Image 16. Flow diagram
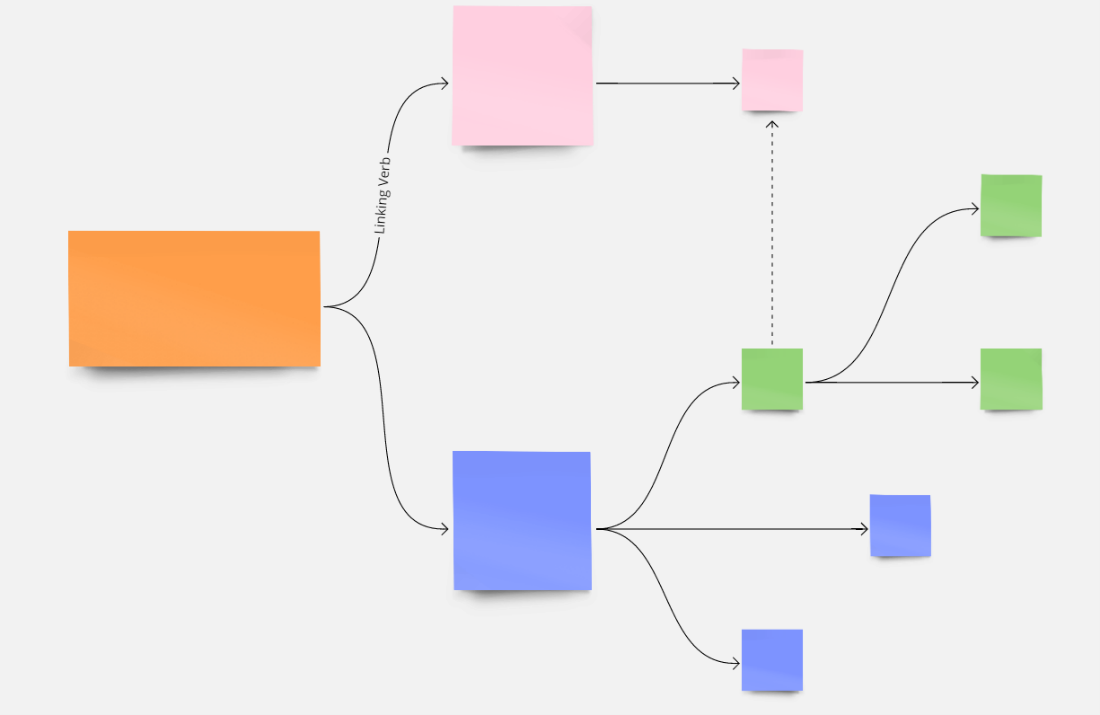
Image 17. Concept map
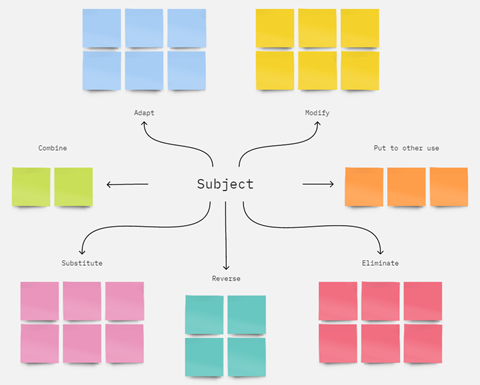
Image 18. S.C.A.M.P.E.R.
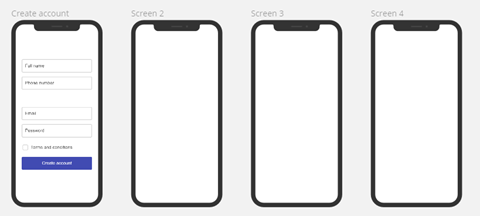
Image 19. Application framework