

Microsoft Lens is a mobile application (available for iOS and Android) designed to make photographing documents easier. Combined with Microsoft’s cloud services, which are available to Jagiellonian University students and staff, it can be an extremely useful tool for those with special needs, too. Let us take a look at some of the features available.
When you launch the app, you will see a screen that resembles the system camera app. Note the bar below the shutter release button and the options available there. By default, Document is selected. This mode allows you to photograph paper documents and process them further.
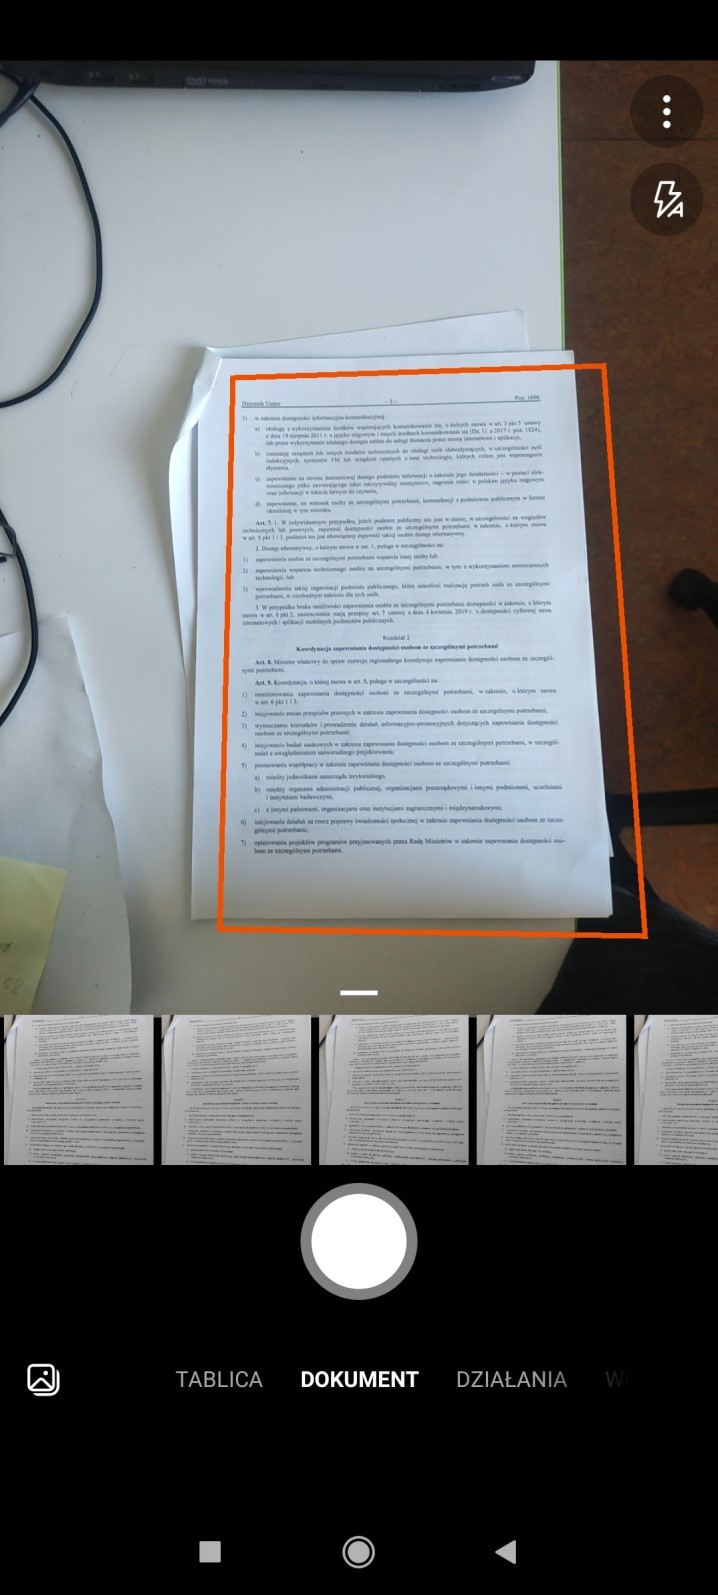
Image 1. Launching the MS Lens application.
The application itself tries to detect the document in the frame and marks it with a red one. If the document is not detected correctly, you can try changing the position of the camera, or simply release the shutter, and make any corrections in the next step:
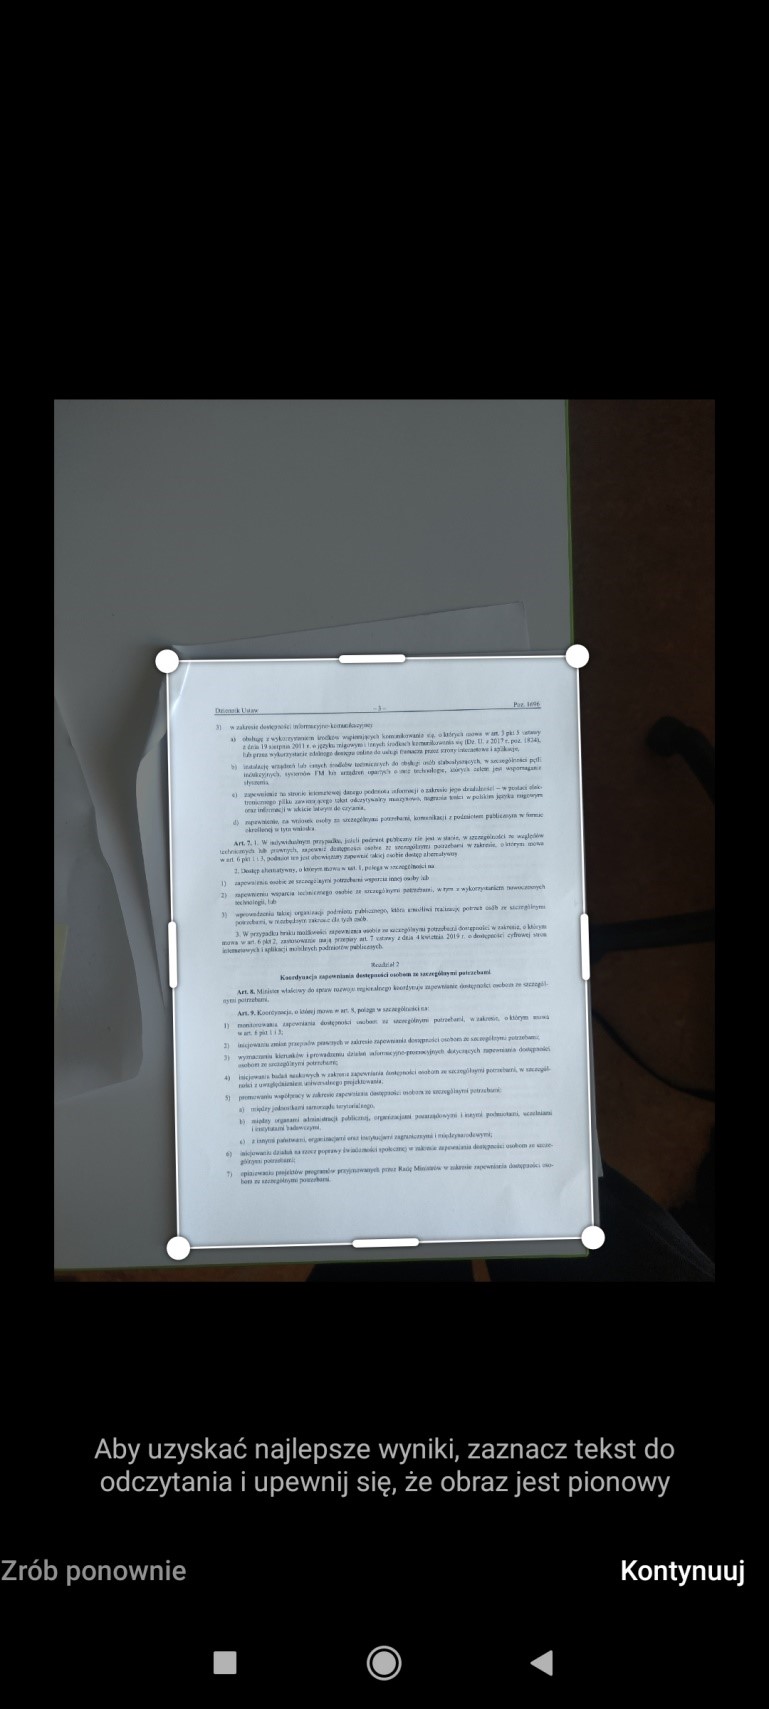
Image 2. Document detection by the MS Lens application
Once a photo has been taken, the red frame is replaced by a white movable one. If the frame is in the wrong position, you can now make corrections by dragging it on the screen. Once the necessary changes have been made, you can press the Continue button to move on to the next step:
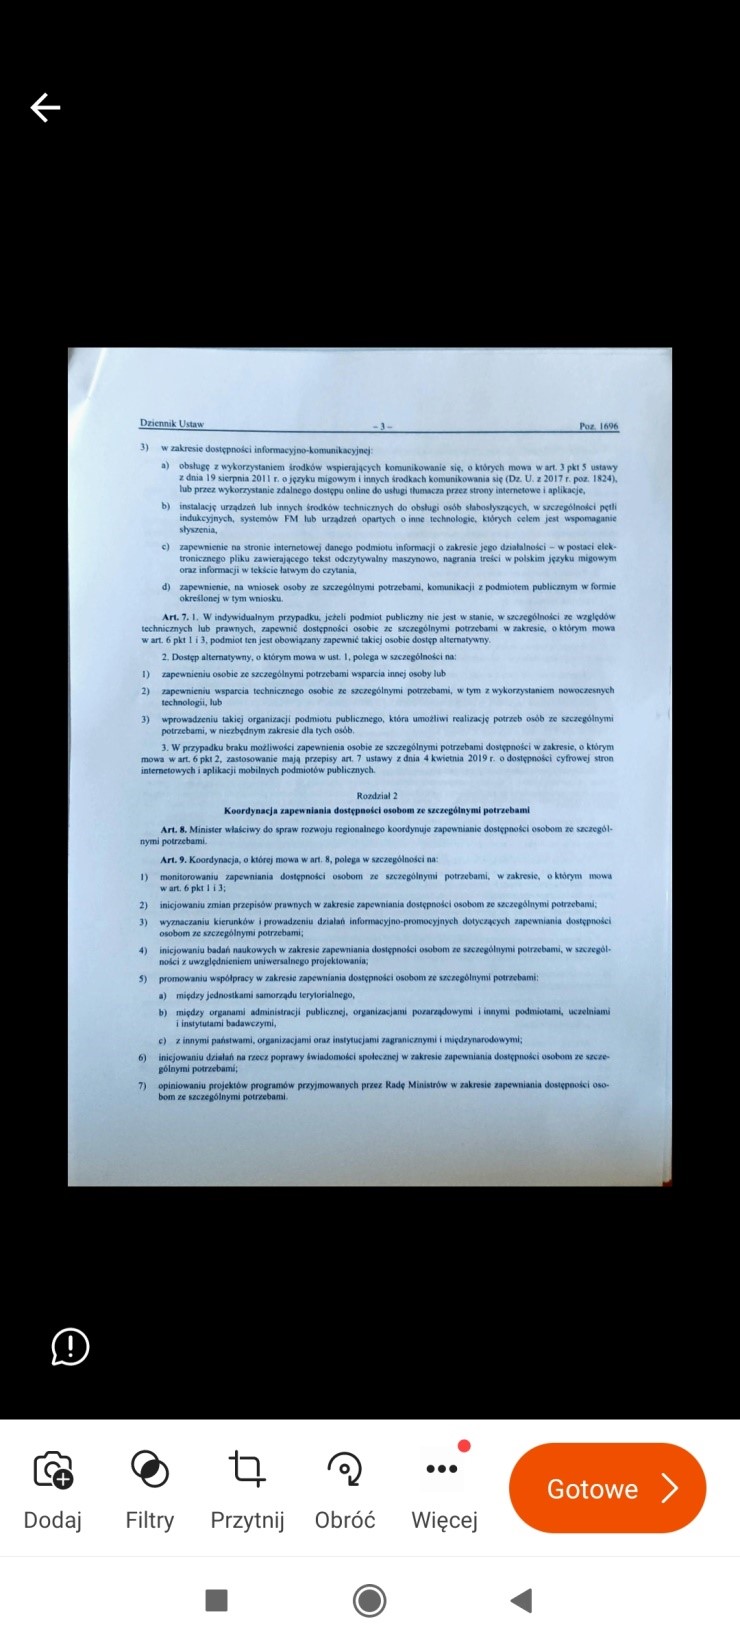
Image 3. Cropped document.
On this screen, you see the document cropped and rotated to the correct position. Here, you can crop the image if necessary, change the contrast or apply filters, but this will not usually be necessary.
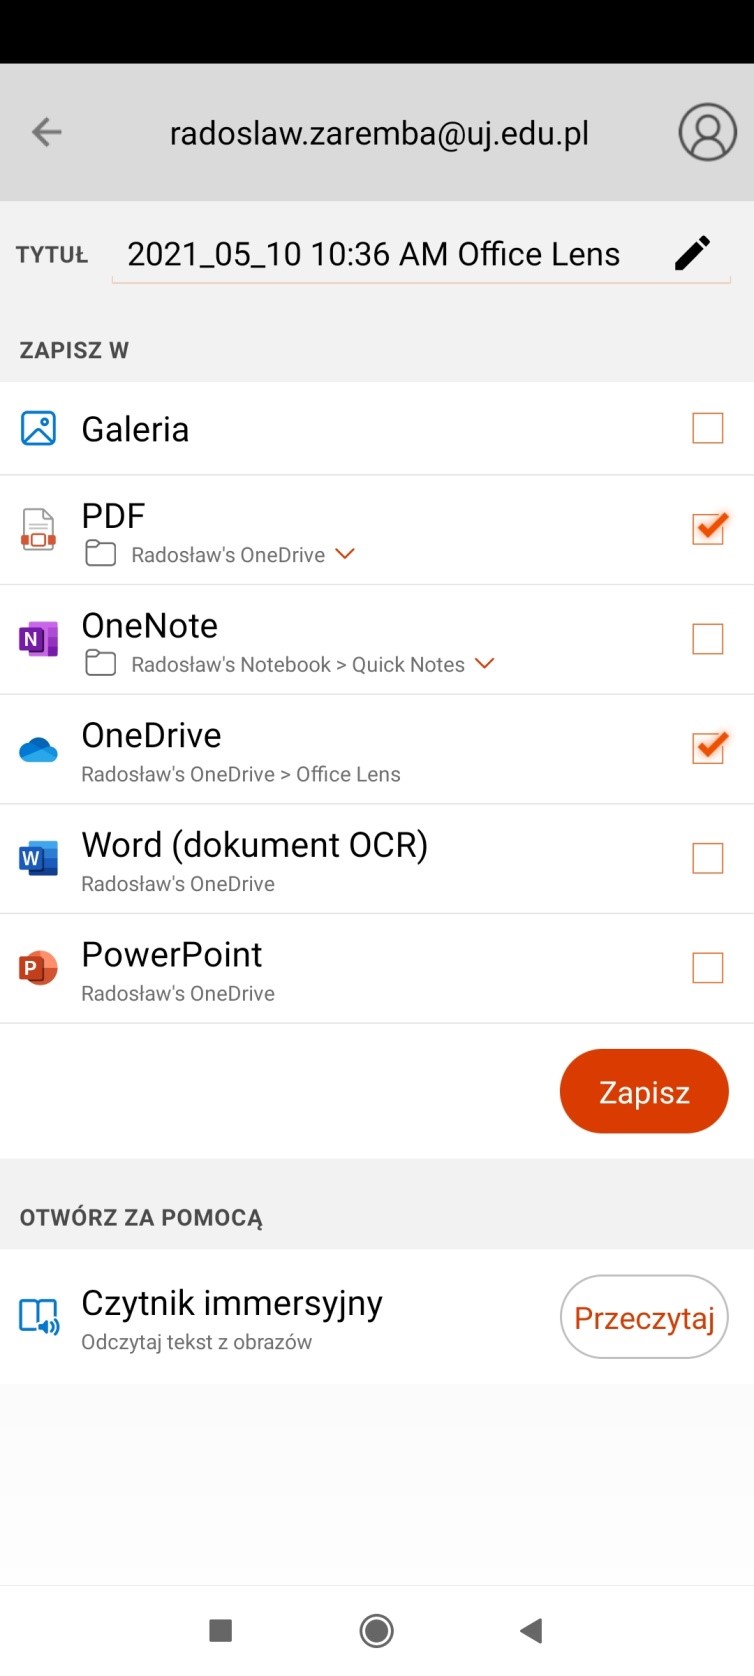
Image 4. Possible formats for saving the document.
Finally, select the format in which you want to save the document. Special attention should be paid to the three most useful options:
- OneDrive - will save the document as an image file in your cloud.
- PDF - will save the document as a PDF file in your cloud. A layer of recognised text will be placed under the image layer.
- Word - will save the document as a Word file, placing the automatically recognised text in the content, already ignoring the image layer.
Let us now return to the first screen of the application for a moment. From the bar mentioned at the beginning, below the shutter release button, you can select the Actions option and, from the submenu, Reading:
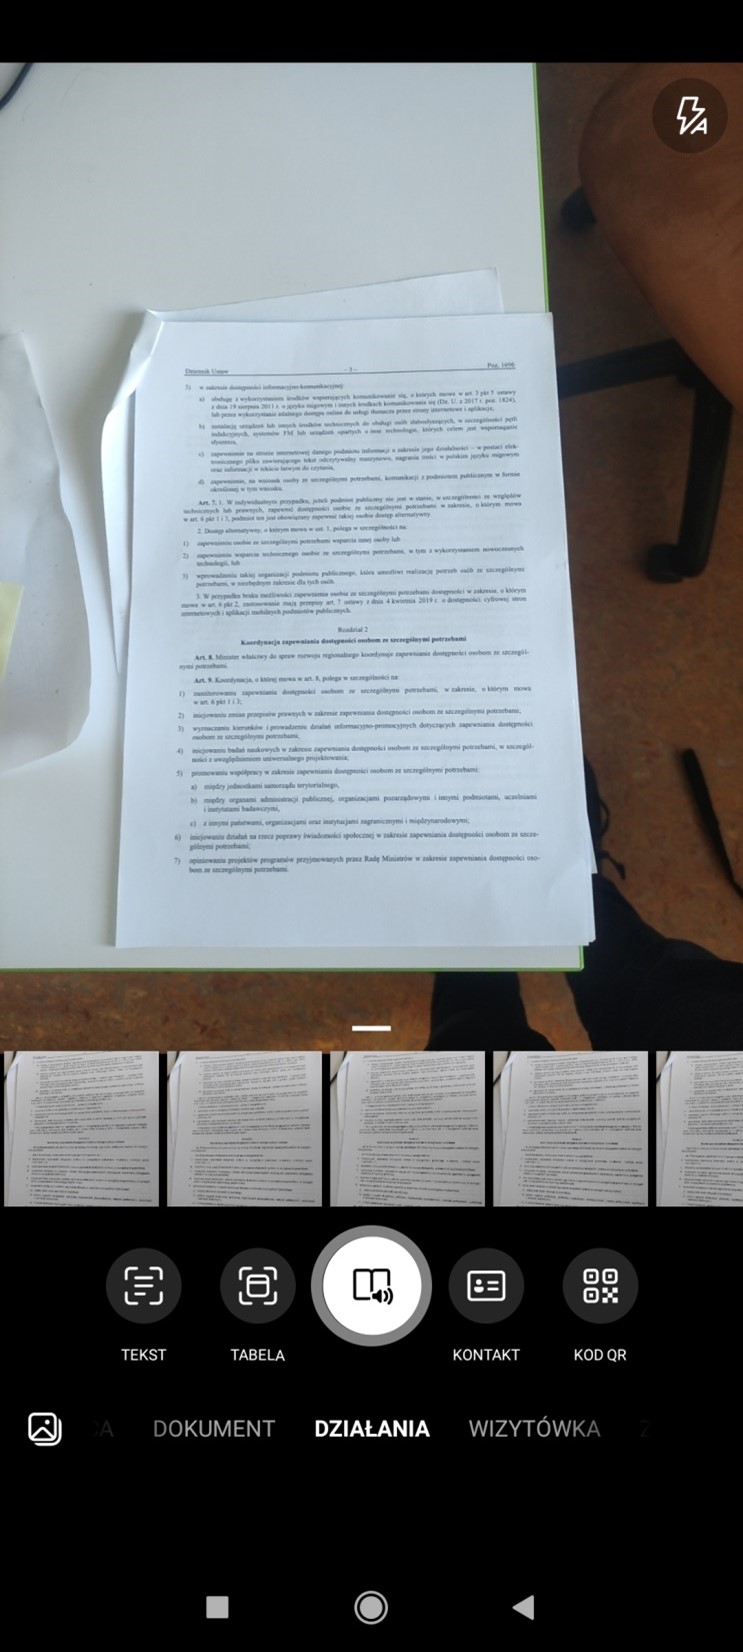
Image 5. The open application with the Actions option highlighted.
Now that the document has been photographed, the image will be converted into text, which can then be read out loud using a synthesiser:
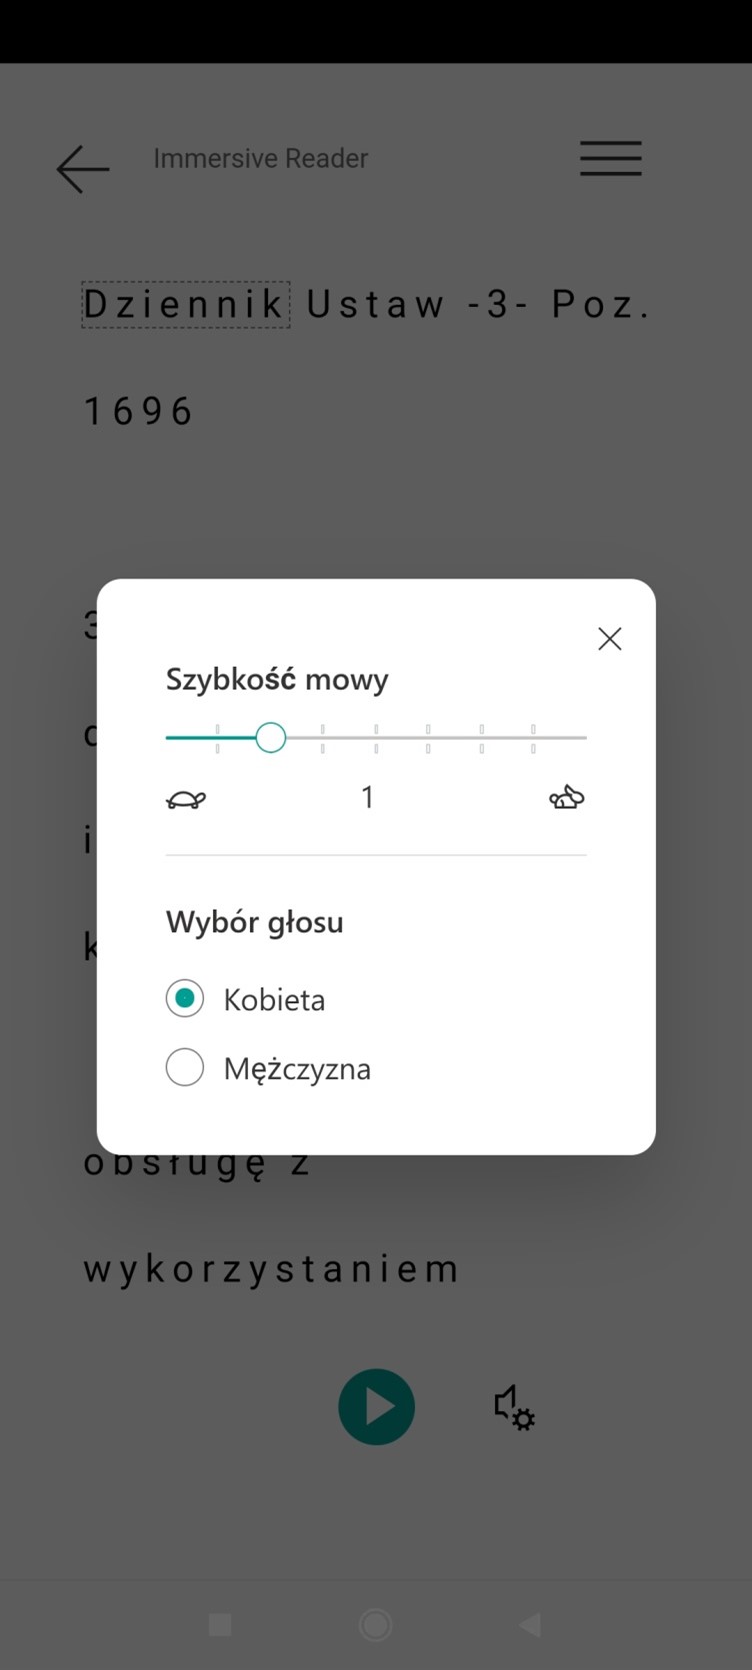
Image 6. A screen preview of the application with the synthesiser settings: speech speed and voice selection.
As you can see, Microsoft Lens can be a useful tool in the case of paper documents, notes, etc., not just for persons with special needs.